14. Hardwood Under Carpet
Refurbishing a floor and revealing the past.
Taking a peek
When we first moved in, we loved the existing oak wood floors in the house. Unfortunately, the master bedroom had blue carpeting. I was hopeful that we would find hardwood floors under there, too. At first look, peeling back the carpet revealed plywood subfloor. Bummer.


After getting acquainted with the house, I was convinced that this room was part of the original 1950’s home. Surely, at some point in history, there must have been hardwood floors here like the rest of the original house. So I took another look, peeled the floor a bit further and eureka! The original oak flooring.
Refurbish wood floors
Step one: remove existing carpet
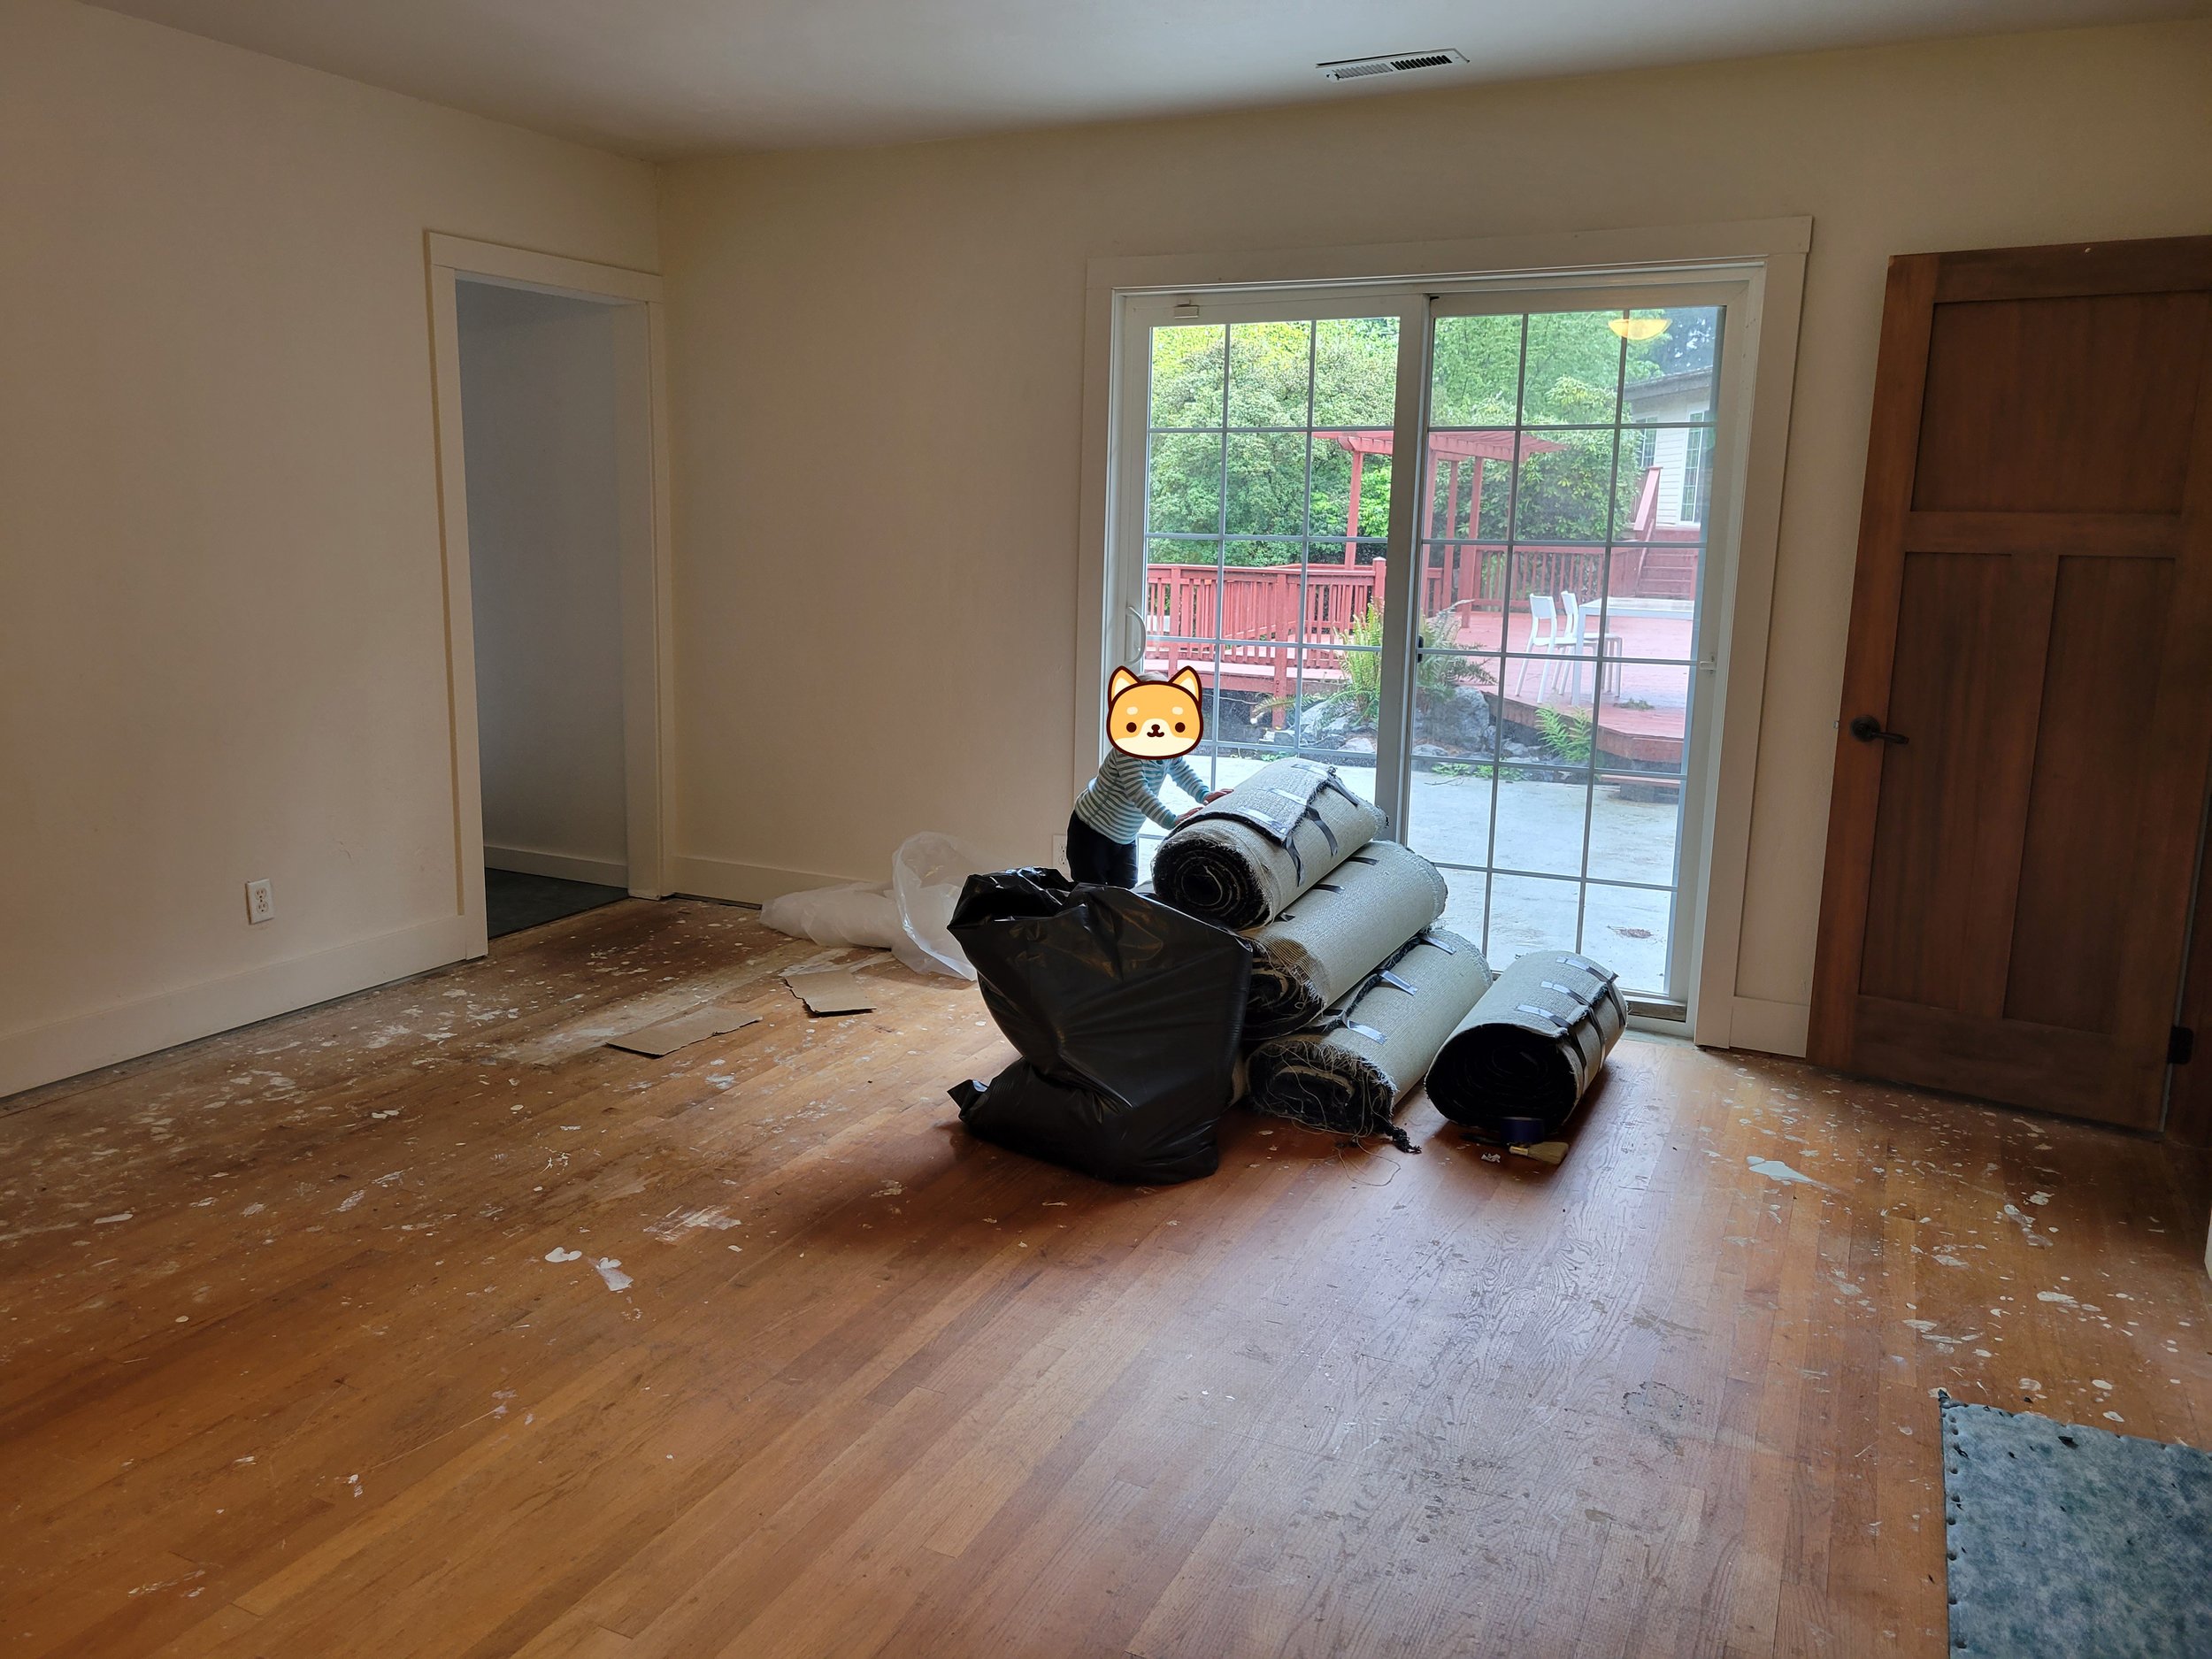
We peeled off the existing carpet and used a utility knife to cut it into manageable sections. Then we also pulling out the underlayment and carpet strips at the perimeter. It took forever, but we also pulled out all the nail heads we could and a few we had to pound into the floor.
Step two: clean and scrape existing floor


At the middle of the room, the flooring looked good, but there was a lot of paint and spackle at the walls.

I started by using a plastic scraper and brush with hardwood cleaner to peel away the paint. It took forever. The end results were OK, but clearly the floor was going to need more work.


Step three: sand the floors
We decided to take the plunge and sand the floors. My husband bought a used rental floor sander from Home Depot — I think it cost about $700. We debated renting versus buying and we thought since we would probably use it on other projects too, that it was worth making the purchase. The sander an American Sanders OBS-18DC orbital floor sander; new they cost about $3-4K.


The sanding process is messy and loud. We used our shop vacuum in between sanding and I wore both a respirator and hearing protection. Compared to the hand scraping that I was doing earlier, this process was easy. Before sanding, we also filled any gaps in the floor with wood filler. We did this project already over one year ago, so I don’t remember the exact details of which grit paper we used and how many passes we made, but I think it was at least three passes.

Step four: seal the floor
We used a polyurethane floor sealer. I think it was two coats with a sanding in between.

The results
Before:


After:


We are happy with the end result. From start to finish the project took 11 days.
Now, over one year later, here is a close up of the floor. It was not a perfect job, but not bad for a DIY.


Exposing the past
We now know why there is subfloor at the edge of the carpet. In fact, there is also exposed subfloor in a few parts of the room and along the sliding door. What is going on?
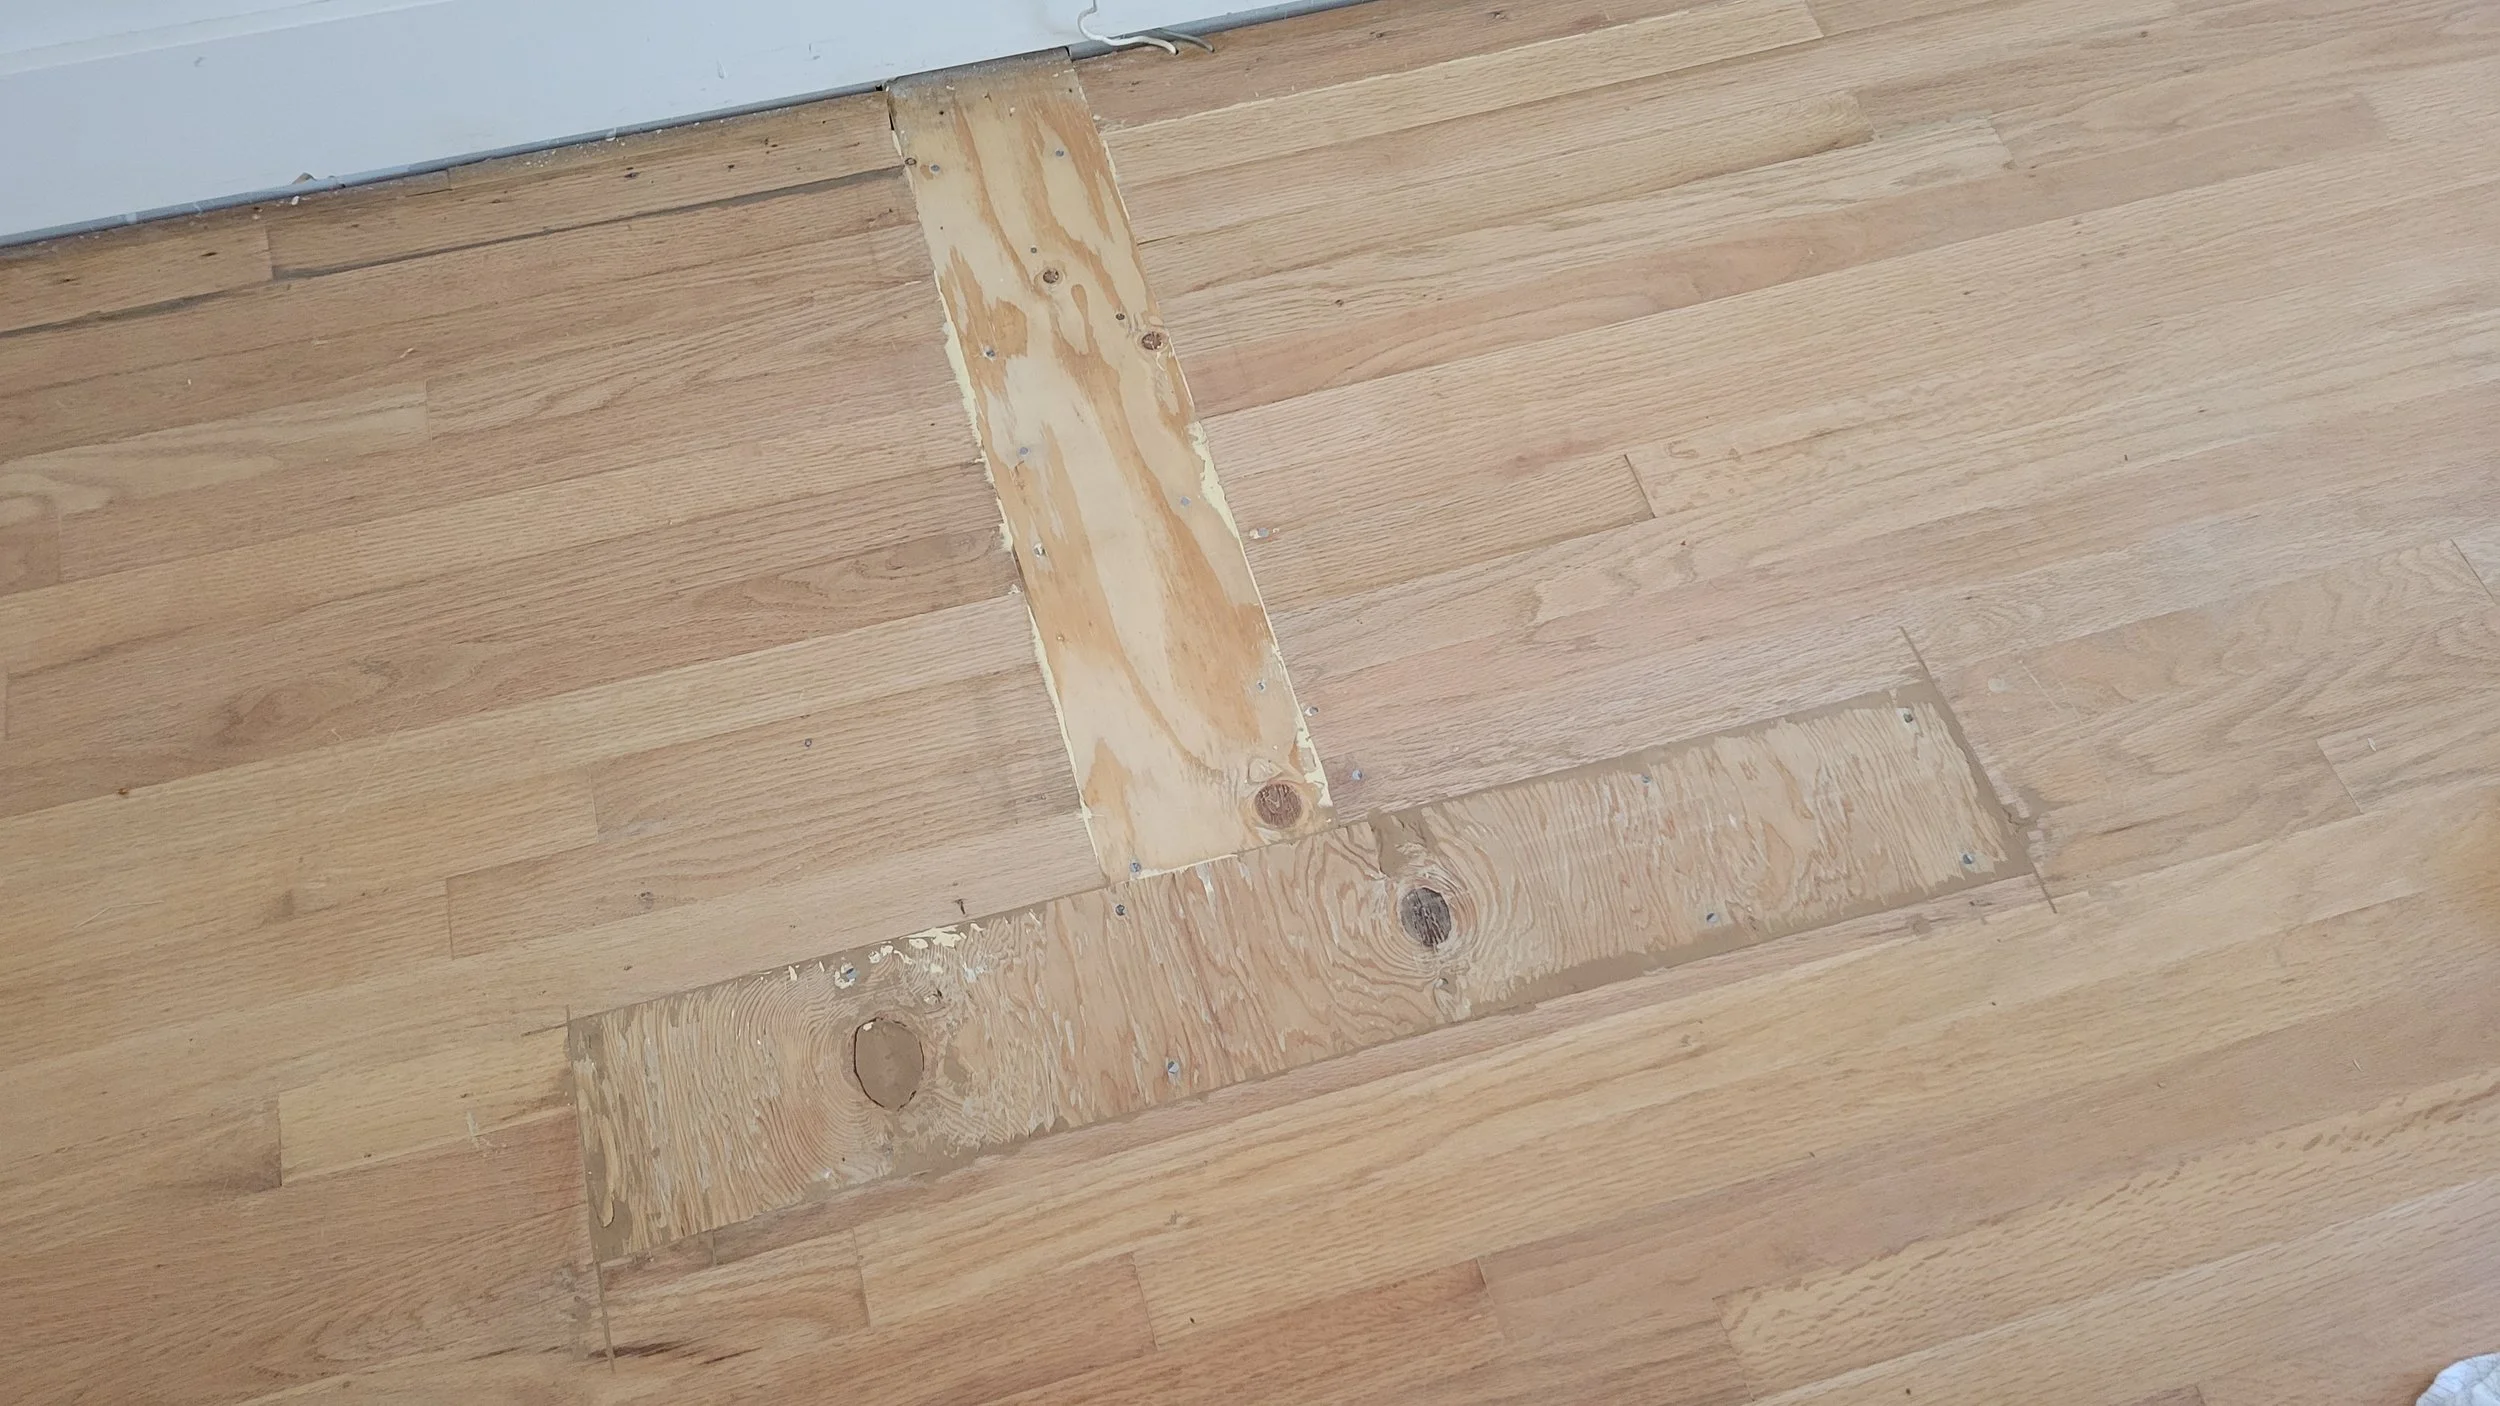

This bedroom is part of the original 1950’s house, but the bathroom and sliding door were added later circa 1983. It appears that when they did the bathroom addition, they tore out the existing bedroom closet framing and they also converted the window into a sliding door. They then painted the walls and added the carpet.


This project was pretty satisfying, and fast, unlike many of our other projects. In the future. this room will be remodeled fully, but for now — and for likely the next 10 years — it is all set. My next step is to think of more of these small scale mini-makeovers. It is great to have lofty long term plans, but also super rewarding to tackle small improvements in the meantime.